Monday 23 June 2014

Knitted Bow Tie Necklaces

Wow another year has passed since I last wrote anything on my Blog. Probably because I have spent most of it completing my Dissertation, graduating from my Masters degree and applying for countless museum jobs.

I have also baked, knitted and made & designed jewellery in my spare time -  I just haven't had a chance to blog about it!

I have JUST finished making a handful of knitted Bow Tie necklaces for sale on my Etsy page :) https://www.etsy.com/uk/shop/craftyrachael . The necklace chain is made of sterling silver, and compliments the knitted feel of the bow tie. The necklaces are £14 each and are presented in a hand decorated gift box.

Additionally I have made a couple of bow tie brooches, which compliment the knitted bow tie necklaces :). Let me know what you think! Do you have a favourite colour? Are there any colours you would prefer? Let me know :).
Knitted Bow Tie Necklaces


Tuesday 25 June 2013

Chocolate Cake with Ganache Icing and Strawberries & Cream

Chocolate cake with strawberries and cream...Wimbledon anyone? 

Ingredients

3 large eggs
175g (6oz) Self-raising Flour
175g (6oz) Caster Sugar
175g (6oz) Butter, softened 
1/2 tsp of Baking Powder
40g (11/2oz) Cocoa Powder (I tend to use 1oz of normal cocoa powder and 1/2 Willie Harcourt's real Cacao, which is available from Waitrose)
4tbsp Boiling Water

Ganache icing:
150ml (5fl oz) Double Cream
150g Dark Chocolate, 70% cacao min
4 tbsp of apricot jam (optional) (moistens the cake, but sometimes a little much with cream and fruit)

Fruit and Cream:
1 punnet of Strawberries (support local farmers if possible!)
or
1 punnet of Raspberries (or both and blueberries too!!! Yum)
1 medium size pot of double cream (or buy 1 big one for the icing as well, this will probably save pennies!!!)

Cake tin:
2 X 17cm (7inch) deep sandwich tins, greased and basis lined with baking paper 

Method

  1. Preheat an oven to 180 degrees centigrade (Gas mark 4)
  2. In a large bowl beat together the; eggs, flour, sugar, butter and baking powder until smooth (you can do this with an electric mixer if you have access to one)
  3. Place the cocoa (and cacao if using my recommendation :) )  in a mug and add the boiling water a little at a time until a thick paste has formed. Add this to the main mixture and stir well until all the ingredients are mixed in.
  4. Half the mixture, and split it between the prepared tins. Cook in the oven for 20-25 minutes, until the cake is springy to the touch and a needle inserted is clean when removed.
  5. Leave to cool IN THE TIN and then turn onto a wire rack, and once completely cooled it can be iced.
  6. Ganache Icing: Place a glass bowl, over a pan with a little water, on a low heat. Make sure the bowl does not touch the water. Measure the cream and chocolate and transfer it to the glass bowl. Stir until the chocolate has melted, then remove from the heat to cool and thicken.
  7. If using optional apricot jam, heat in a pan until melted and spread on the top of each of the cakes.
  8. Whip the cream until thick and tasty. This part is up to you, feel free to add a thin layer of chocolate icing on the top the cake you want to be the bottom cake, I tend to just go for cream then add slices of strawberries, with a drizzle of the ganache icing (see photo below).

Middle of the cake, cream then strawberry slices and drizzle of ganache icing

9. Place the top cake on top and sandwich together. Place a plate under the cooling rack and pour the chocolate ganache icing on-top, spreading carefully with a pallet or butter knife, making sure you also cover the sides.
10. Decorate as you wish! I piped a swirl on top and placed a whole strawberry on top. You could even glaze the strawberry in jam of your choosing (melted apricot if you have used it earlier!). Keep refrigerated (still tasty after 3-4 days!) 


Don't like strawberries, or not in season? This cake is also delicious with Raspberries, the bitter rasps cut through the sweetness

Also makes excellent Birthday Cakes...

Raspberry version for my friend Erin's Birthday

This is without cream or fruit, and glazed with the apricot jam, sandwiched with the ganache icing. Ross' Birthday

8 string Chevron Friendship Bracelet with loop tie

Its that time again...

Ok, as previously promised here are some friendship bracelet tips. 


Collect your utensils...(also "here's some I made earlier")

1. To make a 8 string Chevron Friendship Bracelet you will need to cut 8 strings of embroidery thread (whatever colours you fancy) around 60 inches long.

2. Fold these strings in half (like the images below), making sure you are exactly in the middle (you don't want to run out of string!!!).


Fold strings in half...


Make sure they are equal lengths


3. Make a simple knot large enough for one of the plated ends to pass through (roughly around 1/2 - 3/4 an inch down the strings).


Make a simple not at the top of the folded strings


 4. You are ready to make your bracelet. Secure the strings in place by sitting the not behind a clipboard clip (see below).
You are ready to create!


5. See my previous friendship bracelet blog post to learn how to make the simple four and backwards for knots!

6. Once your pattern has reached your desire length, for my 8 string friendship bracelets I usually stop knotting when the pattern reaches around 4.5 - 5 inches, this may depend on the size of your wrist. Remember you don't want t wrap all the way round your wrist, you need to leave room for the tie.

7. As you can see in the image below, after my final "V" tie I keep the forward and backward knotting strings separate (8 of each) and tie knots as close as possibly to the end of the pattern. Then I plat (braid) the stings so they are equal lengths or around 4.5 inches long, then finish with knots and cut off the excess strings (obviously leaving a little tassel).


Finished 8 string bracelets

Tips...

Stuck for colour inspiration?? Take a look at your clothes, do you seen any colour patterns? Style your friendship bracelets to match your outfits :). For example I wanted a casual bracelet to go with my floral dress, what do you think? (see the photo below).

Colour pattern inspiration from your clothes!


Saturday 22 June 2013

American Pancakes


Weekend Breakfast Treat!
These pancakes are a perfect (once in a while) weekend treat. I cannot deny that these are Not healthy, but they are so tasty :). Enjoy sparingly is the answer!

Ingredients: (Makes 8 pancakes, serves 2-3)
  • 1/2 tablespoon baking powder (yes the seems a lot but trust me it works!)
  • 1/2 pinch of salt
  • 1/2 teaspoon granulated sugar
  • 1 large egg (beaten)
  • 1tablespoon butter (melted and cooled)
  •  150ml milk (I used semi-skimmed milk)
  •  1 cup all-purpose flour
  • butter for frying 
  • (see suggestions below for toppings)

Method:
(Normally I would use scales to measure ingredients, however here in Norway I am making do with Cups.)

1. Melt the tablespoon of butter in a frying pan (to save on washing up use the same pan you will later use to cook the pancakes!) then leave to cool.  


2. If you have a blender, great! Stick all of the ingredients in a blender and whisk away. However if you are like me and don't have access to a blender place the flour, baking powder, salt and sugar in a bowl and make a well in the middle with a spoon.

3. Into the well place the egg and cooled butter, then add the milk gradually and begin stirring with a whisk (this allows air to enter the mixture). Once you have added all the milk (you may need extra if the mixture is too thick to pour) turn on your stove; if electric I recommend using the highest heat then turning it down later as this heats the pan quickly. Melt some butter in the frying pan (or griddle if you have one!). When the butter is melted and sizzling add roughly 1 tablespoon of the mixture per pancake into the pan. To make rounded pancakes make sure you place the mixture into the pan concentrating on the centre of the pancake, it will then spread out. I find it easiest to cook a max 3 at the same time, so you can keep a close eye on
them (see photo below).
Frying the pancakes

4. Once the mixture starts to bubble and blister (see photo below) turn the pancakes over. I find it easiest to do this with a knife. Once turned over they should only take around 1 minute to cook.         

bubbling and blistering, time to flip!

5. Repeat the process twice more, but be careful to keep an eye on the heat as you don't want the pancakes to cook too quickly on one side and burn. After the first pan full I recommend turning the stove down to 4 (electric stove).

Pancake stack!

 Toppings
  •  American: Bacon and Maple syrup (I am veggie so I am not sure what this tastes like, but it is popular)
  • Nutella 
  • Raspberry Jam (personal favourite)
  • Golden Syrup (another favourite)
  • Bananas and Nutella (yum!!)
  • Honey (healthy alternative...ish!)
  • While in Norway I am going to eat my pancakes with Villbringebar Sirup (I bought the raspberry syrup however it comes in a wide range of flavours!) (see photo below).
Norwegian "Villbringebar Sirup" (raspberry syrup)
Update!
Nutella & Banana topping = very tasty!
This combo also made me think what about a Banoffee topping??!! Jared Toffee sauces are widely available or you could make your own by boiling a can of condensed milk.

Click **HERE** for the original "AMERICAN BREAKFAST PANCAKES" recipe by Nigella Lawson

Friday 21 June 2013

Friendship Bracelets

Chevron Friendship Bracelet

So this blog is WAY overdue, apologies but I'm no longer unemployed, but a full blown MA student! I am studying Museum Studies, as I really want to work in a museum...hopefully! I am currently living in Hamar, Norway for my university work placement :). I LOVE Norway, it is so beautiful! I have a lot of spare time on my hands in the evening (when not working on my dissertation, EEK).  

So any way, Friendship Bracelets! At first I was very clumsy whilst making friendship bracelets, I just didn't get it! I think it was because I started off by making an "chevron" bracelet and not just a basic bracelet (half a chevron)!

What you will need!
  • Embroidery Floss  If you are intending to buy floss in the UK I fully recommend purchasing from The Works available in stores and online for £2.99. In a pack you get 30 8 meter skeins.
  • Tape Measure
  • Scissors
  • A Clipboard

Method

The best way to learn is not from me, but from YouTube, that is how I learnt the basic skills. I shall blog my current designs, alternative patterns and tips.

1. Watch this video learn how to make the basic friendship bracelet knots. You will need to know how to create a 4 and backwards 4 knot to make half a chevron or a chevron.


2. Learn how to make a half chevron, "Candy Stripe" friendship bracelet.


3. How to make a chevron friendship bracelet.


These videos are directly linked to YouTube however the author of the videos also has a fab website; **CLICK HERE** to visit the site.

Also the Honestly...WTF blog is a good place to start for friendship bracelet information. I admire there use of colours and their clear instruction photos.

Tips

When I first started to make friendship bracelets I would create platted ties at both ends to fasten them in a bow (see photo below).

- To make these you will need to cut 6 strands of floss measuring 34 inches. Start by knotting the threads together about an inch in then plat one end so it is around 4 inches long.


However... recently I have decided it is easier to tie friendship bracelets by creating a loop, especially for chevron bracelets. To make these chevron bracelets below cut 6 strands measuring 60 inches. Together fold in half and create a knot in the middle, then begin knotting!


Check back soon for more Friendship Bracelet tips and ideas!

Remember to follow my blog :)! Also if you have any tips, patterns or ideas to share feel free to message me or comment on the blogs.

Thursday 1 November 2012

Christmas Cake

Ok...I realise I probably haven't updated my blog for at least 6 months, however I was employed and busy for 3! And now I am a student once again, studying towards a Masters in Museum Studies. Hopefully I will update my blog at least on a monthly basis, I have a fair few crafts to share, perhaps DIY Christmas present ideas :). But to start, a Christmas cake recipe. The recipe is a combined mix of several different recipes; including a recipe recorded by my Great Grandmother (her leather bound journal belongs in a museum!). In addition to my great grandmothers journal I also used the Rich Fruit Cake recipes from "Delia Smith's; Complete Illustrated Cookery Course" (1997)  page 490 - 492 and "Mary Berry's; Complete Cookery" (1997) page 476-477.   (updated and edited 08/12/2014)


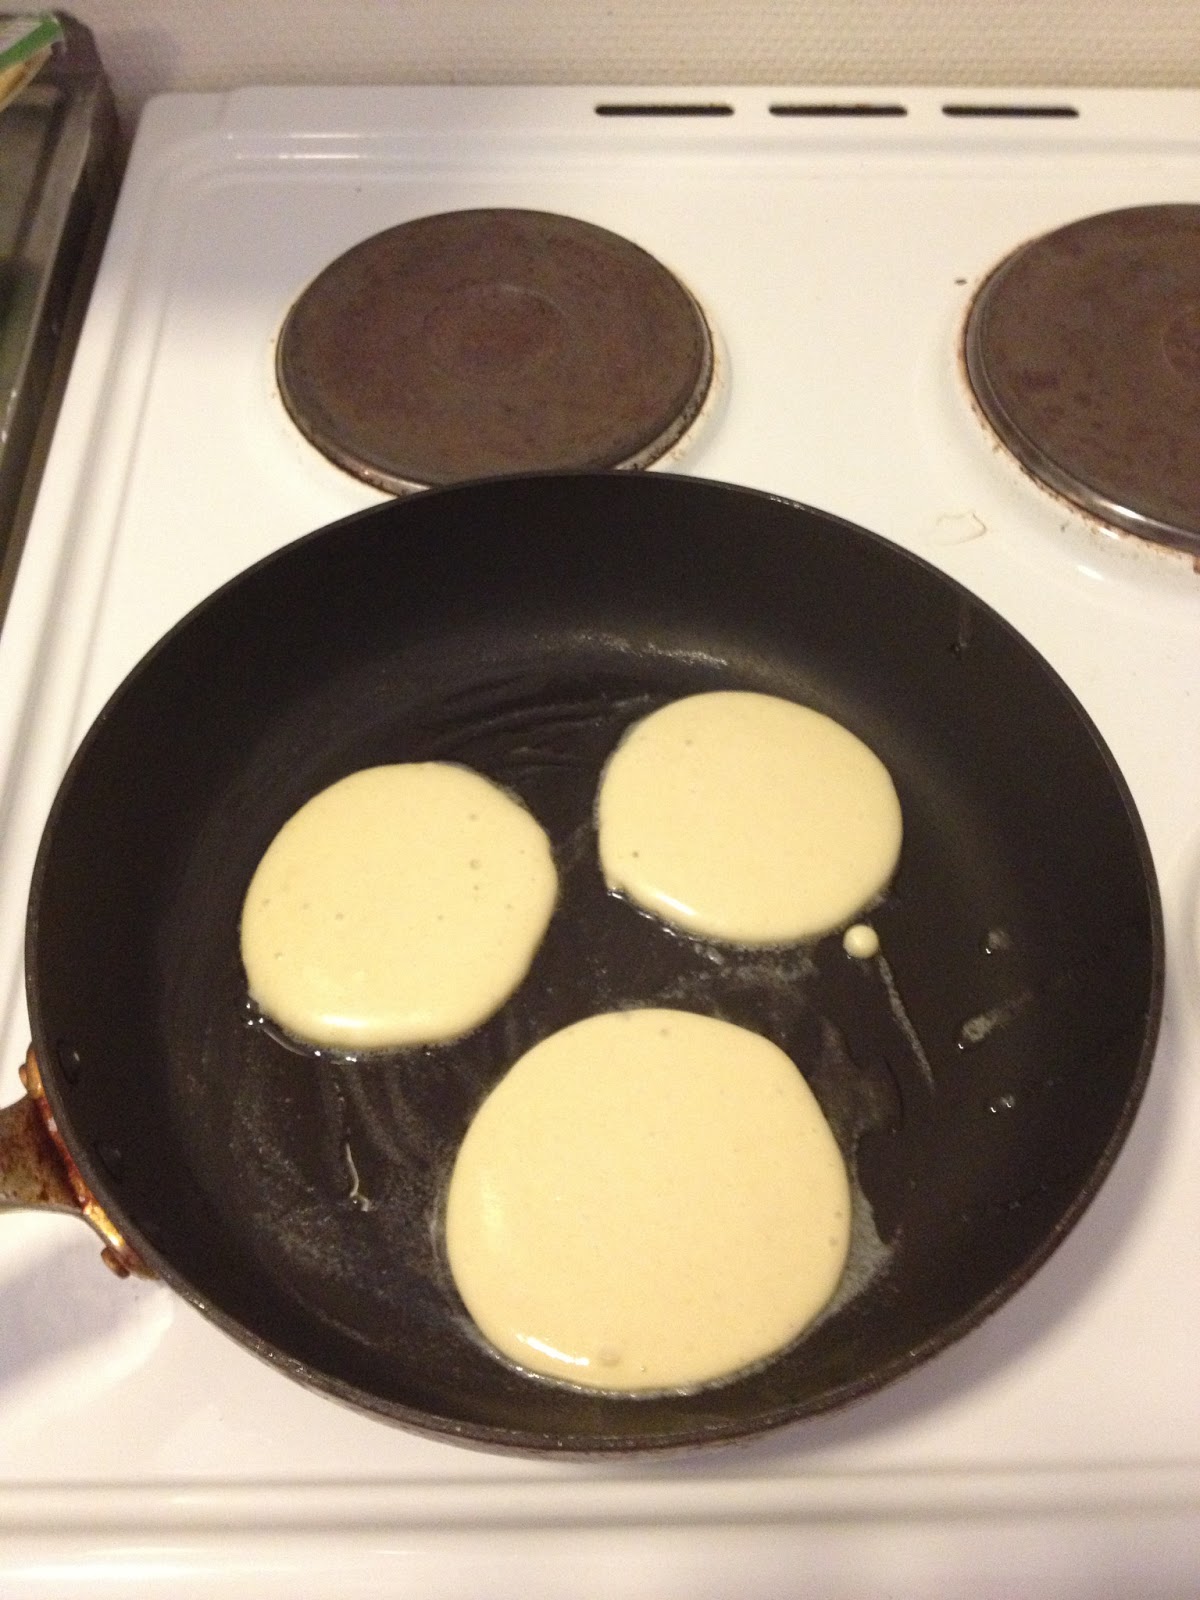
Christmas cake base before feeding it with brandy
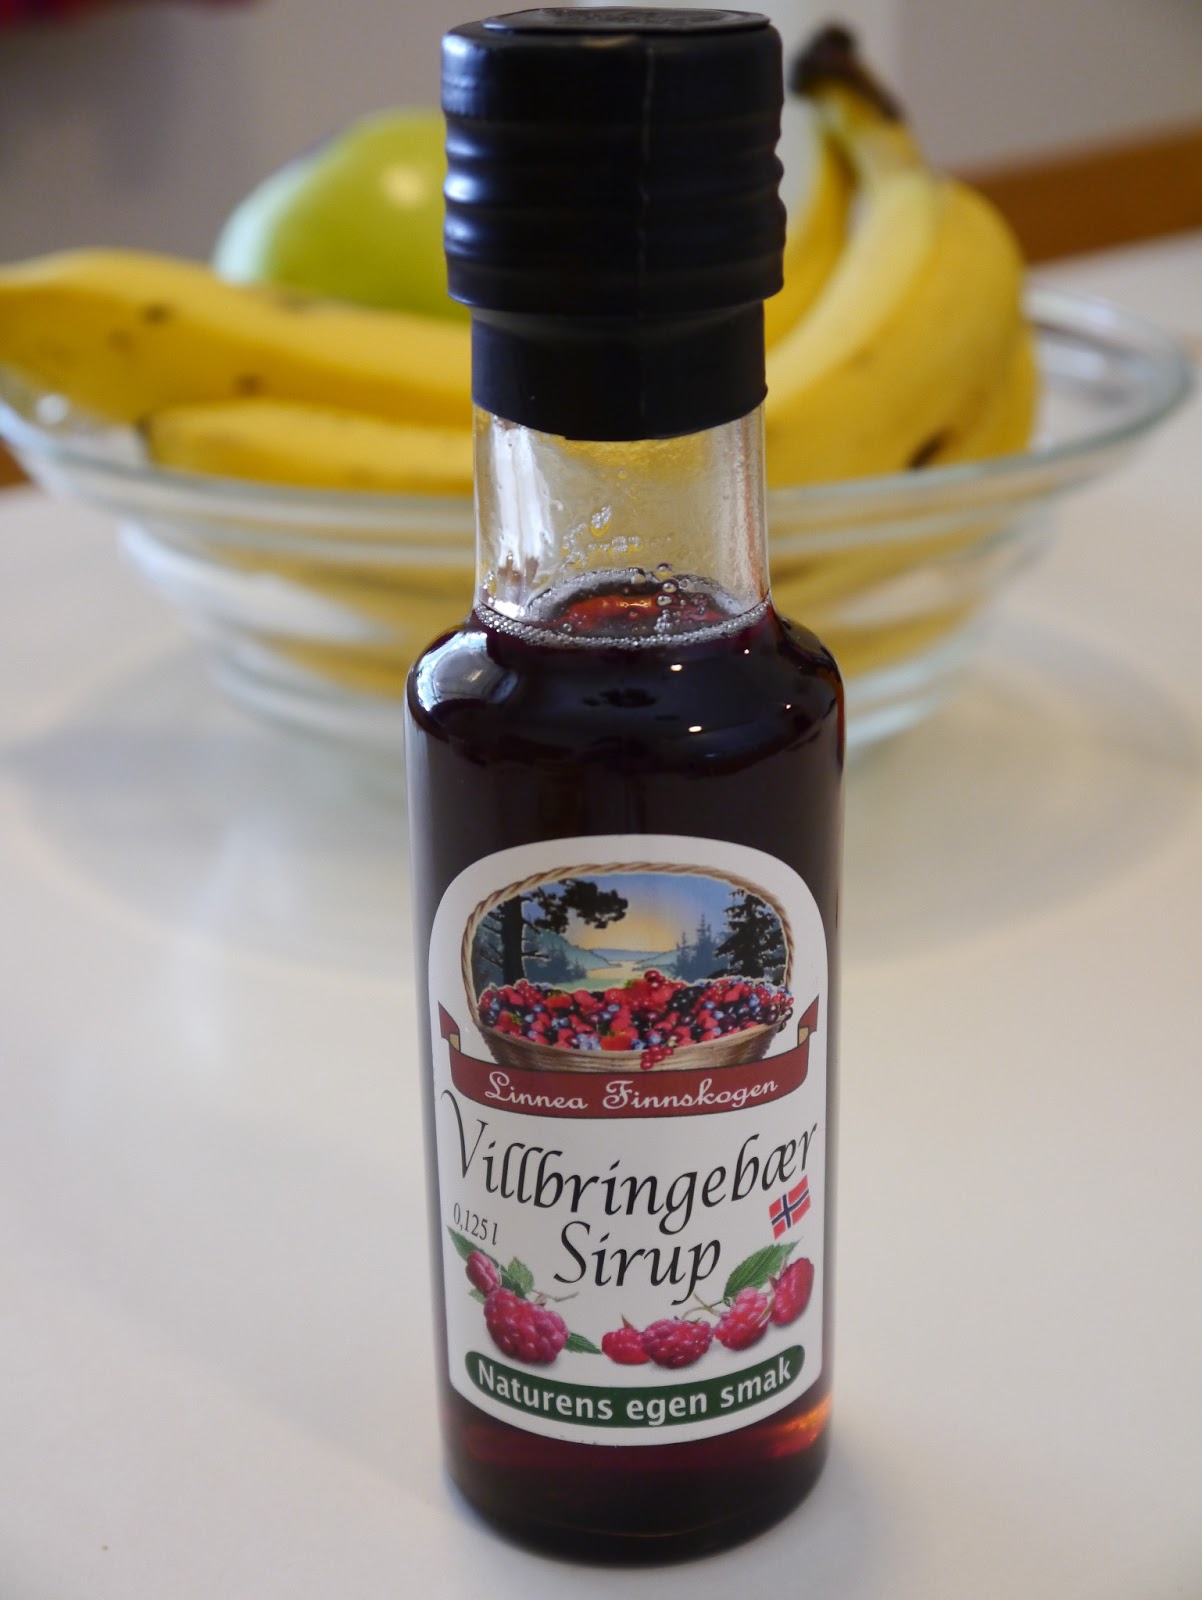
Wrapped up for Christmas


Ingredients:
30oz (1.875 lb) (850g) Dried fruit;
- 14oz  (397g) Currants
- 8oz  (225g) Raisins
- 8oz (225g) Sultanas
8oz (225g) Glacé Cherries (washed, dried and quartered) (Delia suggests 2oz (50g) but I love Glacé Cherries!)
2 oz  (50g)Mixed peel
3 - 4 tbs Brandy (you will need extra to soak the cake once cooked before storing and for feeding)
8 oz (225g) Plain Flour
8 oz (225g) Butter
1/4 tsp Nutmeg
3/4 tsp Ground Mixed Spice
3 oz (75g) Dark Brown Sugar 
5 oz (140g) Soft Light Brown Sugar
4 Eggs
2oz (50g) Chopped Mixed Nuts
dessert spoon of Black Treacle
Orange  zest
Lemon zest

Utensils:
2 large mixing bowls
Electric mixer
A deep round 8 inch cake tin

1. Place the Dried Fruit, Glace Cherries, Mixed Peel and Brandy in a large mixing bowl, and leave to soak over night. Cover the bowl with clingfilm.

2. In a second large mixing bowl add the remaining ingredients and beat thoroughly with an electric mixer. Add the soaked fruit to the mixture, ensure it is well combined.

3. It is very important that your cake tin is well greased as the cake takes several hours to cook through. Grease the cake tin with either butter or margarine, line the bottom and sides with a double layer of greaseproof paper and grease the paper also. Spoon the cake mixture into your prepared tin and place a disk of greaseproof paper on top of the mixture, this prevents the top from burning. As my Great Grandmother also suggests, wrap a double layer of brown paper around the outside of the tin (about twice as wide as the height of the tin) and attach it by tying a loop of string around the tin. To insulate the tin my mum also suggested sitting the cake on a newspaper (it worked!!).

4. Bake in preheated oven on 140 Degrees (275 F, Gas Mark 1) for 4 hour 30 minutes to 5 hours, until an inserted skewer comes out clean and it feels firm to the touch. Leave the cake to cool in the tin. ( I think my cake took exactly 5 hours, however I used a conventional oven without a fan).

5. When the cake has cooled, remove the circle of greaseproof paper placed on top, pierce the cake in several places and pour over a small amount of brandy while in the tin. Remover the cake from the tin, do not remove the greaseproof paper (the greasy paper help keep the cake moist). Wrap the cake in another layer of greaseproof paper, followed by a layer of foil. Store the cake in an airtight cake tin for up to 3 months, unwrapping every so often to feed the cake 1-2tbsp of brandy to keep it moist. 

Please feel free to play around with this recipe, this is how I put it together. Feel free to play with the dried fruit ingredients, perhaps substitute some of the dried fruit for dried apricots, cranberries or dates. My cake is quite light in colour as I used mainly soft light brown sugar (as this is what we had in the house!!), so you may want to just use dark brown sugar. If you prefer you could also substitute the brandy for sherry or a similar spirit. 
I shall follow this blog with ideas for decoration in December 2012!!! Be sure to check back then :) . Please feel free to ask me any questions about this recipe.   

Update June 23rd 2013
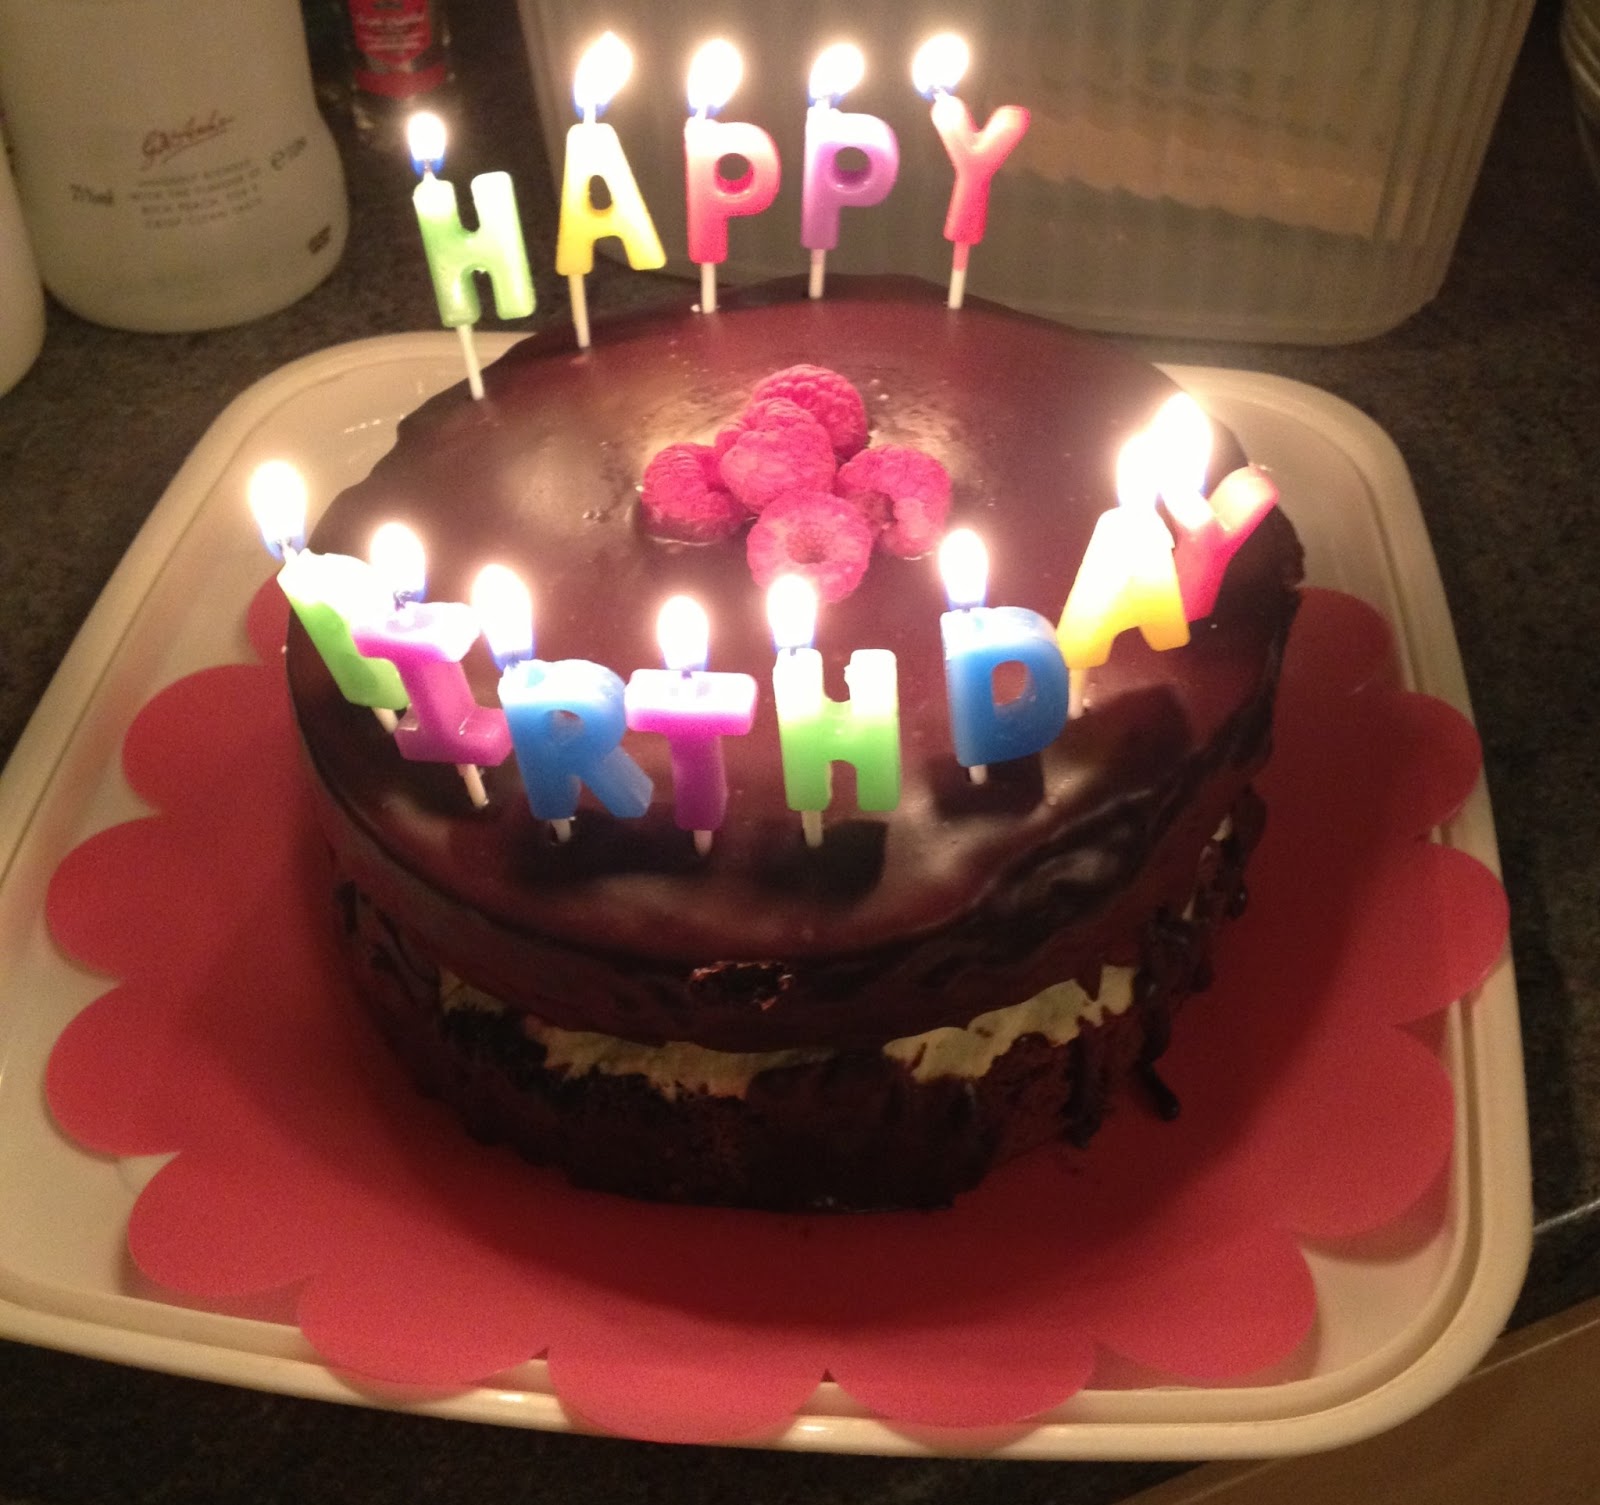
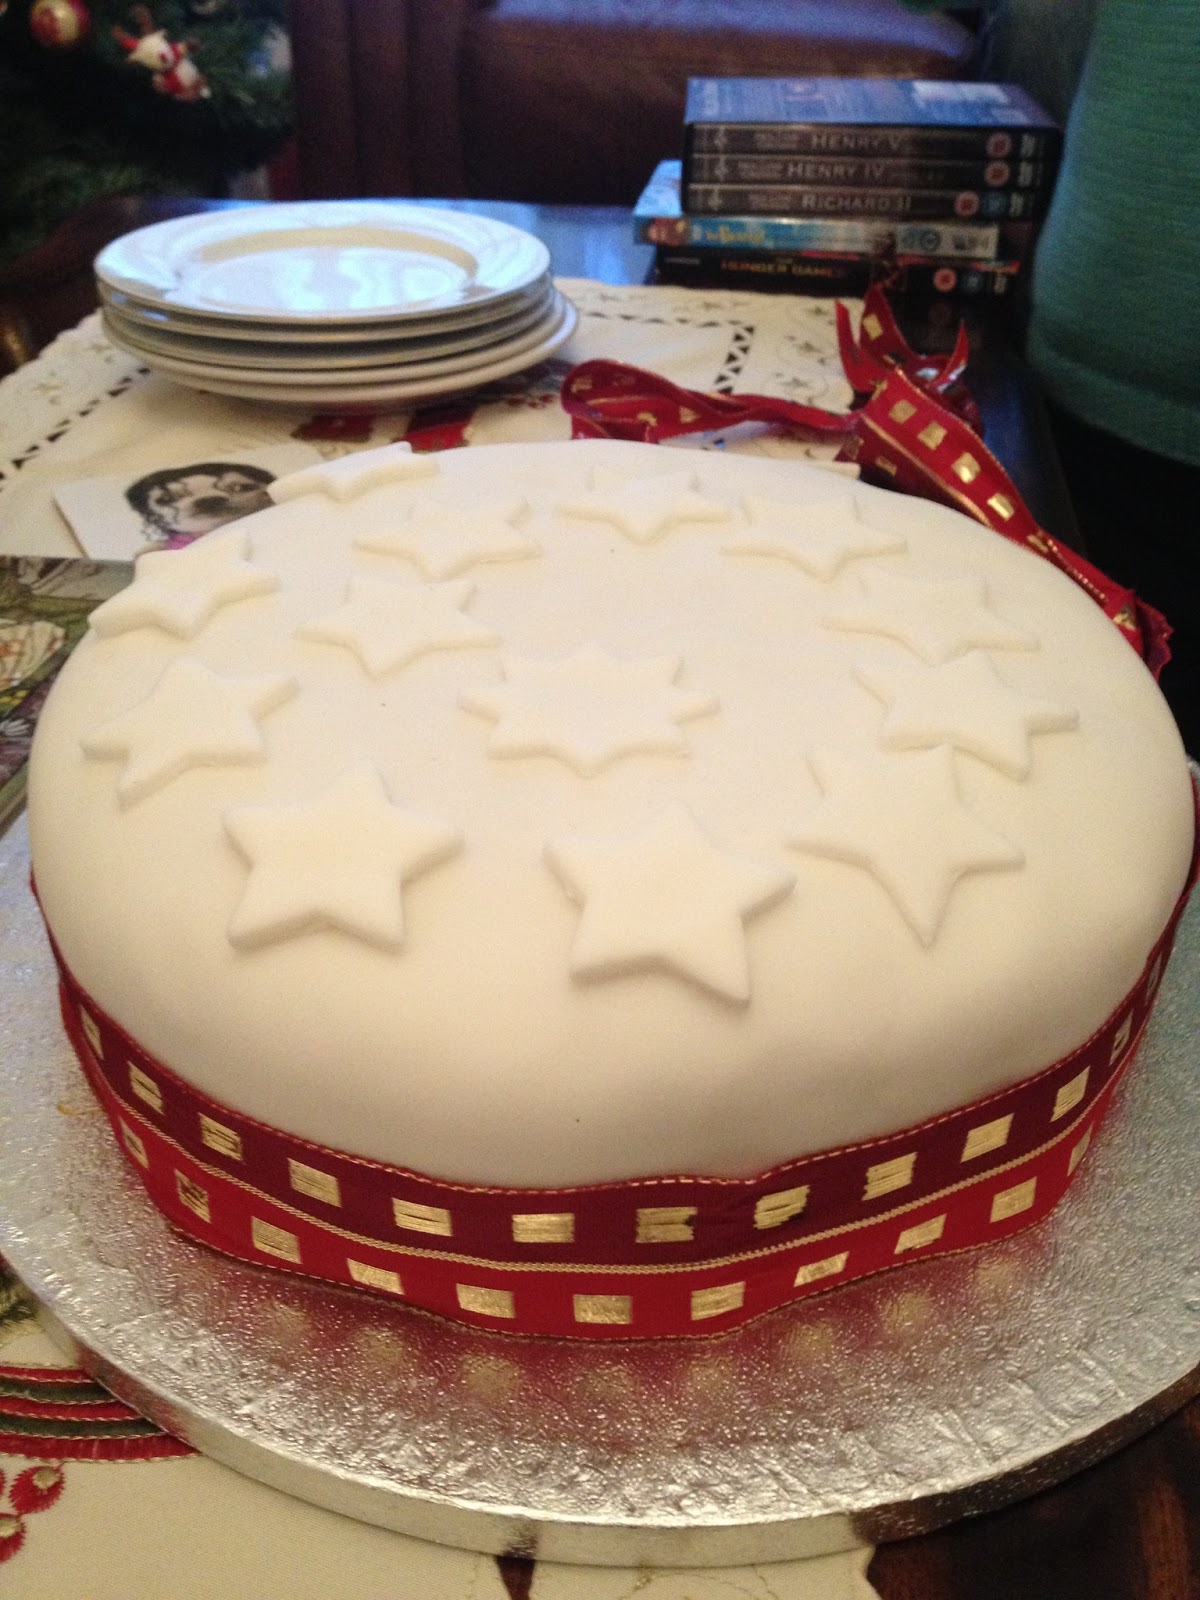
Just found an image (apologies for the poor quality) of my finished cake;
Finished Christmas cake
To decorate you cake in this way you will need;

  • Roughly 3 tbsp apricot jam, sieved and warmed
  • Icing sugar (so it doesn't stick to your work surface!) 
  • 700g Marzipan (almond paste)
  • 1-2 packets of icing sugar (also depending on decoration)
Utensils:
  • Rolling pin
  • Bread knife (useful for lifting the icing and marzipan)
  • 1 -2 star shaped cutters
  • A pastry brush (for spreading the warm apricot jam onto the cake)
  • 1 tbsp of water (for sticking on the stars)
  • 1 Christmasy ribbon (cut to fit your cake, leaving a few inches to fold it over and attach with a pin)
  • 1 pin (to keep the ribbon in place)

This cake is tasty! It is moist and rich ,but lighter coloured than most Christmas cakes because of the combination of sugars. Try it yourself, and don't forget to share any alterations or ideas :)!

Update December 2013

This year I went to a cake decorating class and this is the end result- I love the glittery Christmas trees on the edge of the cake! The group cake photograph shows the other cake designs created during the classes. 


Update 08/12/2014

This year I made my cake in early November and it took AGES to cook (5-6 hours). After reading through numerous blogs and recipe books I have tweaked my recipe a bit - I basically scaled down my ingredients as I wanted a smaller 8 inch cake. 

This article by Delia Smith is really handy if you want to make a smaller or larger cake http://www.deliaonline.com/how-to-cook/baking/scaling-up-cake-recipes.html 

If you want to make a larger 9 inch cake I recommend using Mary Berry's Christmas cake recipe (I love the quantity of spices and Glacé Cherries in her cake) http://www.bbc.co.uk/food/recipes/classic_christmas_cake_04076

It's all about experimenting so have fun and share your recipe ideas! 

Tuesday 6 March 2012

Wizarding Scarf (Harry Potter themed)

Hand Knitted Wizarding Scarf


Apologies for the wait of my first post!! As you may well be aware I designed and created a "Wizarding Scarf" in a similar style to the scarves worn by students in the Harry Potter films "The Goblet of Fire" to the "Harry Potter and the Deathly Hallows Part 2". Previously the scarves worn by the students in the films were a basic red and yellow block stripe design with alternating colour tassles. I chose to base the scarf on the latter films due to preference by Peter. The scarf was initially supposed to be a Christmas, however I did not complete it until the end of January as I was not in the UK between September to December. The scarf took about 1 month to complete, however I am still learning to knit as I go, and I am a bit of a perfectionist when it comes to crafting!

  1. To make this "Wizarding Scarf" you will need size 5 - 6mm needles (this may depend on your wool, check the packaging),   two 148 metre skeins (balls) of red wool in shade of choice, (I used "Life Chunky by Stylecraft" wool in "Cardinal" red) and one 148 metre skein (ball) of yellow/ gold wool with the same thickness as the red wool. I could not find the exact colour yellow I wanted, in the correct thickness so I knitted with two balls of yellow wool at the same time to make up the thickness (I used two balls of 100g "Bonus DK by Hayfield" in shade 0978).
  2. I started the scarf by casting on 30 stitches of the red wool. I then knitted (using a basic knit stitch) 22 rows before changing to the two skeins of yellow wool for 6 rows. Knitting with two skeins is not difficult, knit as normal making sure both skeins are knitted. In between the yellow lines, you will need to knit 8 rows of red. Repeat this process until you have 9 large blocks of red and 8 pairs of yellow lines.
  3. I then added 7 tassles to each end of the scarf. If you do no know how to make tassles there are many useful videos on Youtube, this is easier than explaining. This is how I made the tassles for my scarf; http://youtu.be/Ra2qbqISwsM  .
If you have any problems or queries feel free to contact me. I often required help while making my first scarf, from my mum and knitting extraordinaire Suz Hart.    


If knitting isn't your thing, but you would like a "Wizarding Scarf" of your own, feel free to contact me and I can knit you one for £15 (the cost will cover the cost of the wool and is a bargain for the amount of time it will take to make!). Please specify colours and design changes i.e. whether you want tassles or want to change the size etc.